I got this idea—sewing matching Hudson Pants for my family—from Emma (@emmas_atelier). For the ‘Fun prompt’ of the #bpSewvember photo challenge, she posted a picture of the set Hudson Pants she made for Christmas. I found this very inspiring as I love sewing gifts and I love the Hudson pant.
You can read below how I did it!
The Hudson Pant pattern
The Hudson Pant is a pattern for very comfortable sweatpants and there is a female, male and mini version of it. At that time I already sewed 5 Hudson pants—for my daughter, for my husband and for myself— so the pattern had no more secrets for me. I already made the necessary adjustments on these patterns: lengthening of the crotch line for my daughter and lengthening of the legs for all of us.
I traced new pattern pieces for the pants for my daughters-in-law. For my sons, I used the pattern of my husband with some extra length on the hems of the legs.

The Hudson Pant Fabric
I bought 7 m of grey melée ‘sweatshirt fleece’ with a soft brushed inside at my local fabric shop. It’s a blend of cotton/polyester. Luckily for me, it was the end of the bolt so I got some more than 7 m and I needed it.

The advantage of using the same fabric for all the Hudson pants is that you can really place your pattern pieces very economical. More, you can easily fit the smaller pieces in the leftover fabric after you’ve cut out the bigger pieces

Sewing 7 Hudson Pants in a row
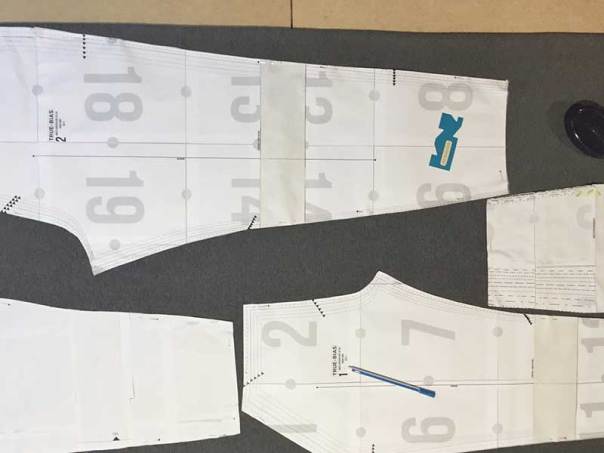
I had already the different measurements of everybody so I could cut out the pattern pieces. To make sure I didn’t forget any of them (8 pieces per pants makes 56 pieces in total!) I made a graph and I gave every pant a different colour. Because there was an obvious difference between the men’s and women’s pants I could use the same colour for the marks twice.

I also put these marks on the wrong side of the pattern pieces.

Then I followed the successive stages of the sewing instructions but I did each of them 7 times. I kept sure I always put the several “pants-in-construction” in the same order.

I sewed everything with the overlocker. As I sewed already 5 Hudson pants before I had no problem at all with putting everything together.
 A pile of “pants-in-construction” after sewing all the pocket pieces. You can see some of the pink and yellow marks.
 All the Hudson pants are the same except for my husband’s. He didn’t want leg cuffs.
The gift
When I gave the presents I was nervous of course but they were all surprised and happy. They all tried the pants immediately and alas one of the pants for my daughter-in-law was too small on the legs! I widened them with a black strap and now they are good. Unfortunately for her, it took me more than a year to do so. I gave the too small pants to my godson and made a new one for my daughter-in-law. Can you imagine my horror when she tried it on it was again too small, although I adjusted the pattern. That’s why I fixed it with the black straps.

 The ‘kids’ looking cool in their Hudson pant!
The mini-one
This whole story took place in 2017 but we never got together to make a picture with all of us wearing our Hudson pant. In the meanwhile, our grandson was born so I had to make matching pants for him! There is no Hudson pant pattern for babies so I took the Oliver pants pattern that I used before. But I used leftovers from the grey fabric and from the fabric that I used for the dress for his mama when she was still pregnant with him.

Conclusion
My family and I, we love our matching Hudson pants. We all think they are very comfortable and we love wearing them.
Will I sew more Hudson Pants? I guess so because after the photoshoot my son asked me to sew him another one!
Bonus: the Hudson pant Photoshoot


Do the Hudson Dance!


